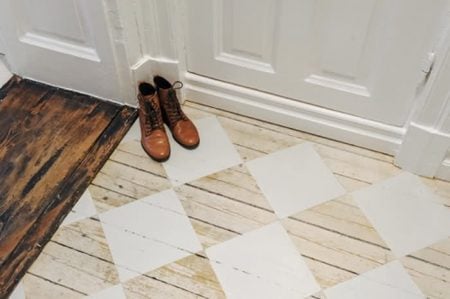
Fun Checkerboard Pattern for Painted Floors
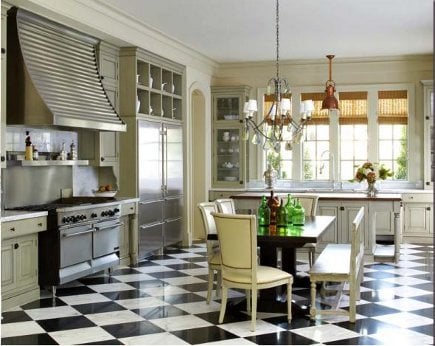
Checkerboard pattern painted floors are a great way of updating your look without incurring a huge cost with new floorboards. While black and white are classic checkerboard color combinations.
But if you want more floor fun, its time to become a little more adventurous with your painted floors and your choice of color combinations.
This article has tips, videos and a cheat sheet below for painted floorboards, vinyl flooring and even concrete.
Color Combinations for Checkerboard Floors
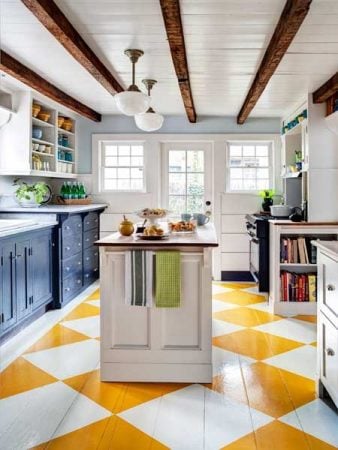
Iconic color combinations often use white as the base color. Color combinations like blue and white, yellow and white, gray and white, red and white – even hot pink and white are used. But how about doing something really different like red and black, yellow and blue, chocolate and light blue?
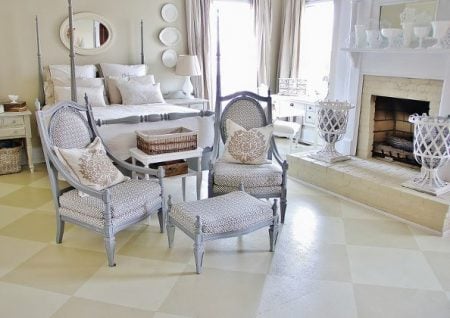
Different shades of the same color are great if you prefer a subtle checkerboard pattern on your painted floors and want to hide any possible mistakes… not that you would make any, right?
Great for hiding dirt too. These painted floorboards are durable and incredibly practical.
You want them to look great at all times, especially in a kitchen where dirty floors really stand out.
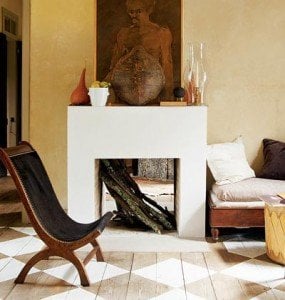
You can halve the job by leaving your painted floorboards their original wood color and placing one color in your checkerboard pattern on top. That’s a 50% saving in your time and in paint.
Concrete and Vinyl Flooring
Checkerboard patterns are great for concrete and vinyl flooring too, often forgotten, when it comes to sprucing up painted floors.
Below is a video on how to paint checkerboard floor freehand on a concrete floor. That’s right, no masking tape!
While the checkerboard pattern is perfect for painted floorboards, try it on concrete or vinyl flooring. I think checkerboard patterns look great on any flooring when done right.
You need to take a different approach to painting a concrete floor. Talk to your hardware supplier about painting vinyl flooring which uses specialty paints for lasting results.
Here’s is a cheat sheet of twelve pointers to help you on your way.
Checkerboard Painted Floor Tips
- Always start painting on the opposite side of the room – that is – the furthest point from the door.
- Paint the floor with the lighter color as your base coat. Use a roller but cut in the edges of the floor with a good quality paint brush first, for a neater job.
- Allow the paint to dry overnight then apply a second coat if your painted floor needs it.
- To estimate the number of squares on your painted floor divide the length of the wall by the number of squares you want. Big squares mean fewer squares to be painted over the floor, little squares mean more work.. in the end it depends on the look you want and what suites your room.
- Using a pencil mark the floor from corner to corner using a framing square and straightedge to create squares down and across the length of the room.
- X the painted floor squares you plan to leave as your lighter color. Tape off squares to be painted. It’s important your squares are neat. To avoid paint bleeding on your painted floors seal the tape on the flooring by carefully dragging a knife over the tape’s edge.
- Remove unwanted pencil lines with a damp sponge before lightly sanding the squares. Wipe clean with a damp cloth.
- Cut the edges of each square with a paint brush and use a mini-roller to fill in your squares. For a clean unified look, pull the roller inward starting on top of the tape. Always follow the grain of the floorboards.
- Peel the tape up and away from the paint at an angle. For the best result remove the tape before the paint has dried.
- Finally, apply a coat of water-based polyurethane, particularly to painted floors with high traffic.
This is a fun, contemporary look. It can be classic, subtle or bold depending on your color combinations. Its not expensive and the impact its worth the work.
