What Size Spacers Should You Use for Subway Tile?
If you’re thinking of setting up a subway tile wall, or backsplash, you might be wondering what size spacers you’ll need to use. You could go for a traditional subway tile, or maybe try something different.
Subway Tile Spacer Sizing
What are the advantages and disadvantages of different grout widths and, by association, different-sized spacers? Let’s look into it.
Traditional 1/16-inch
If we’re talking about what the subway tiles in the New York City metro looked like — meaning the traditional look of subway tile — you’ll need a 1/16-inch spacer. This is on the thinner side compared to other types of tile.
The thinner grout works well with the typical size of subway tile, which is also on the smaller side: 3×6 inches. This generally means your installation process will be a bit more time-consuming. On the other hand, this size of subway tile is usually inexpensive, the cheapest option running you a little over a dollar.
The advantage of this size of spacer, which was certainly considered in the construction of the original subway tile, is hygiene. Because the grout is thinner, grime and dirt are less likely to settle over time.
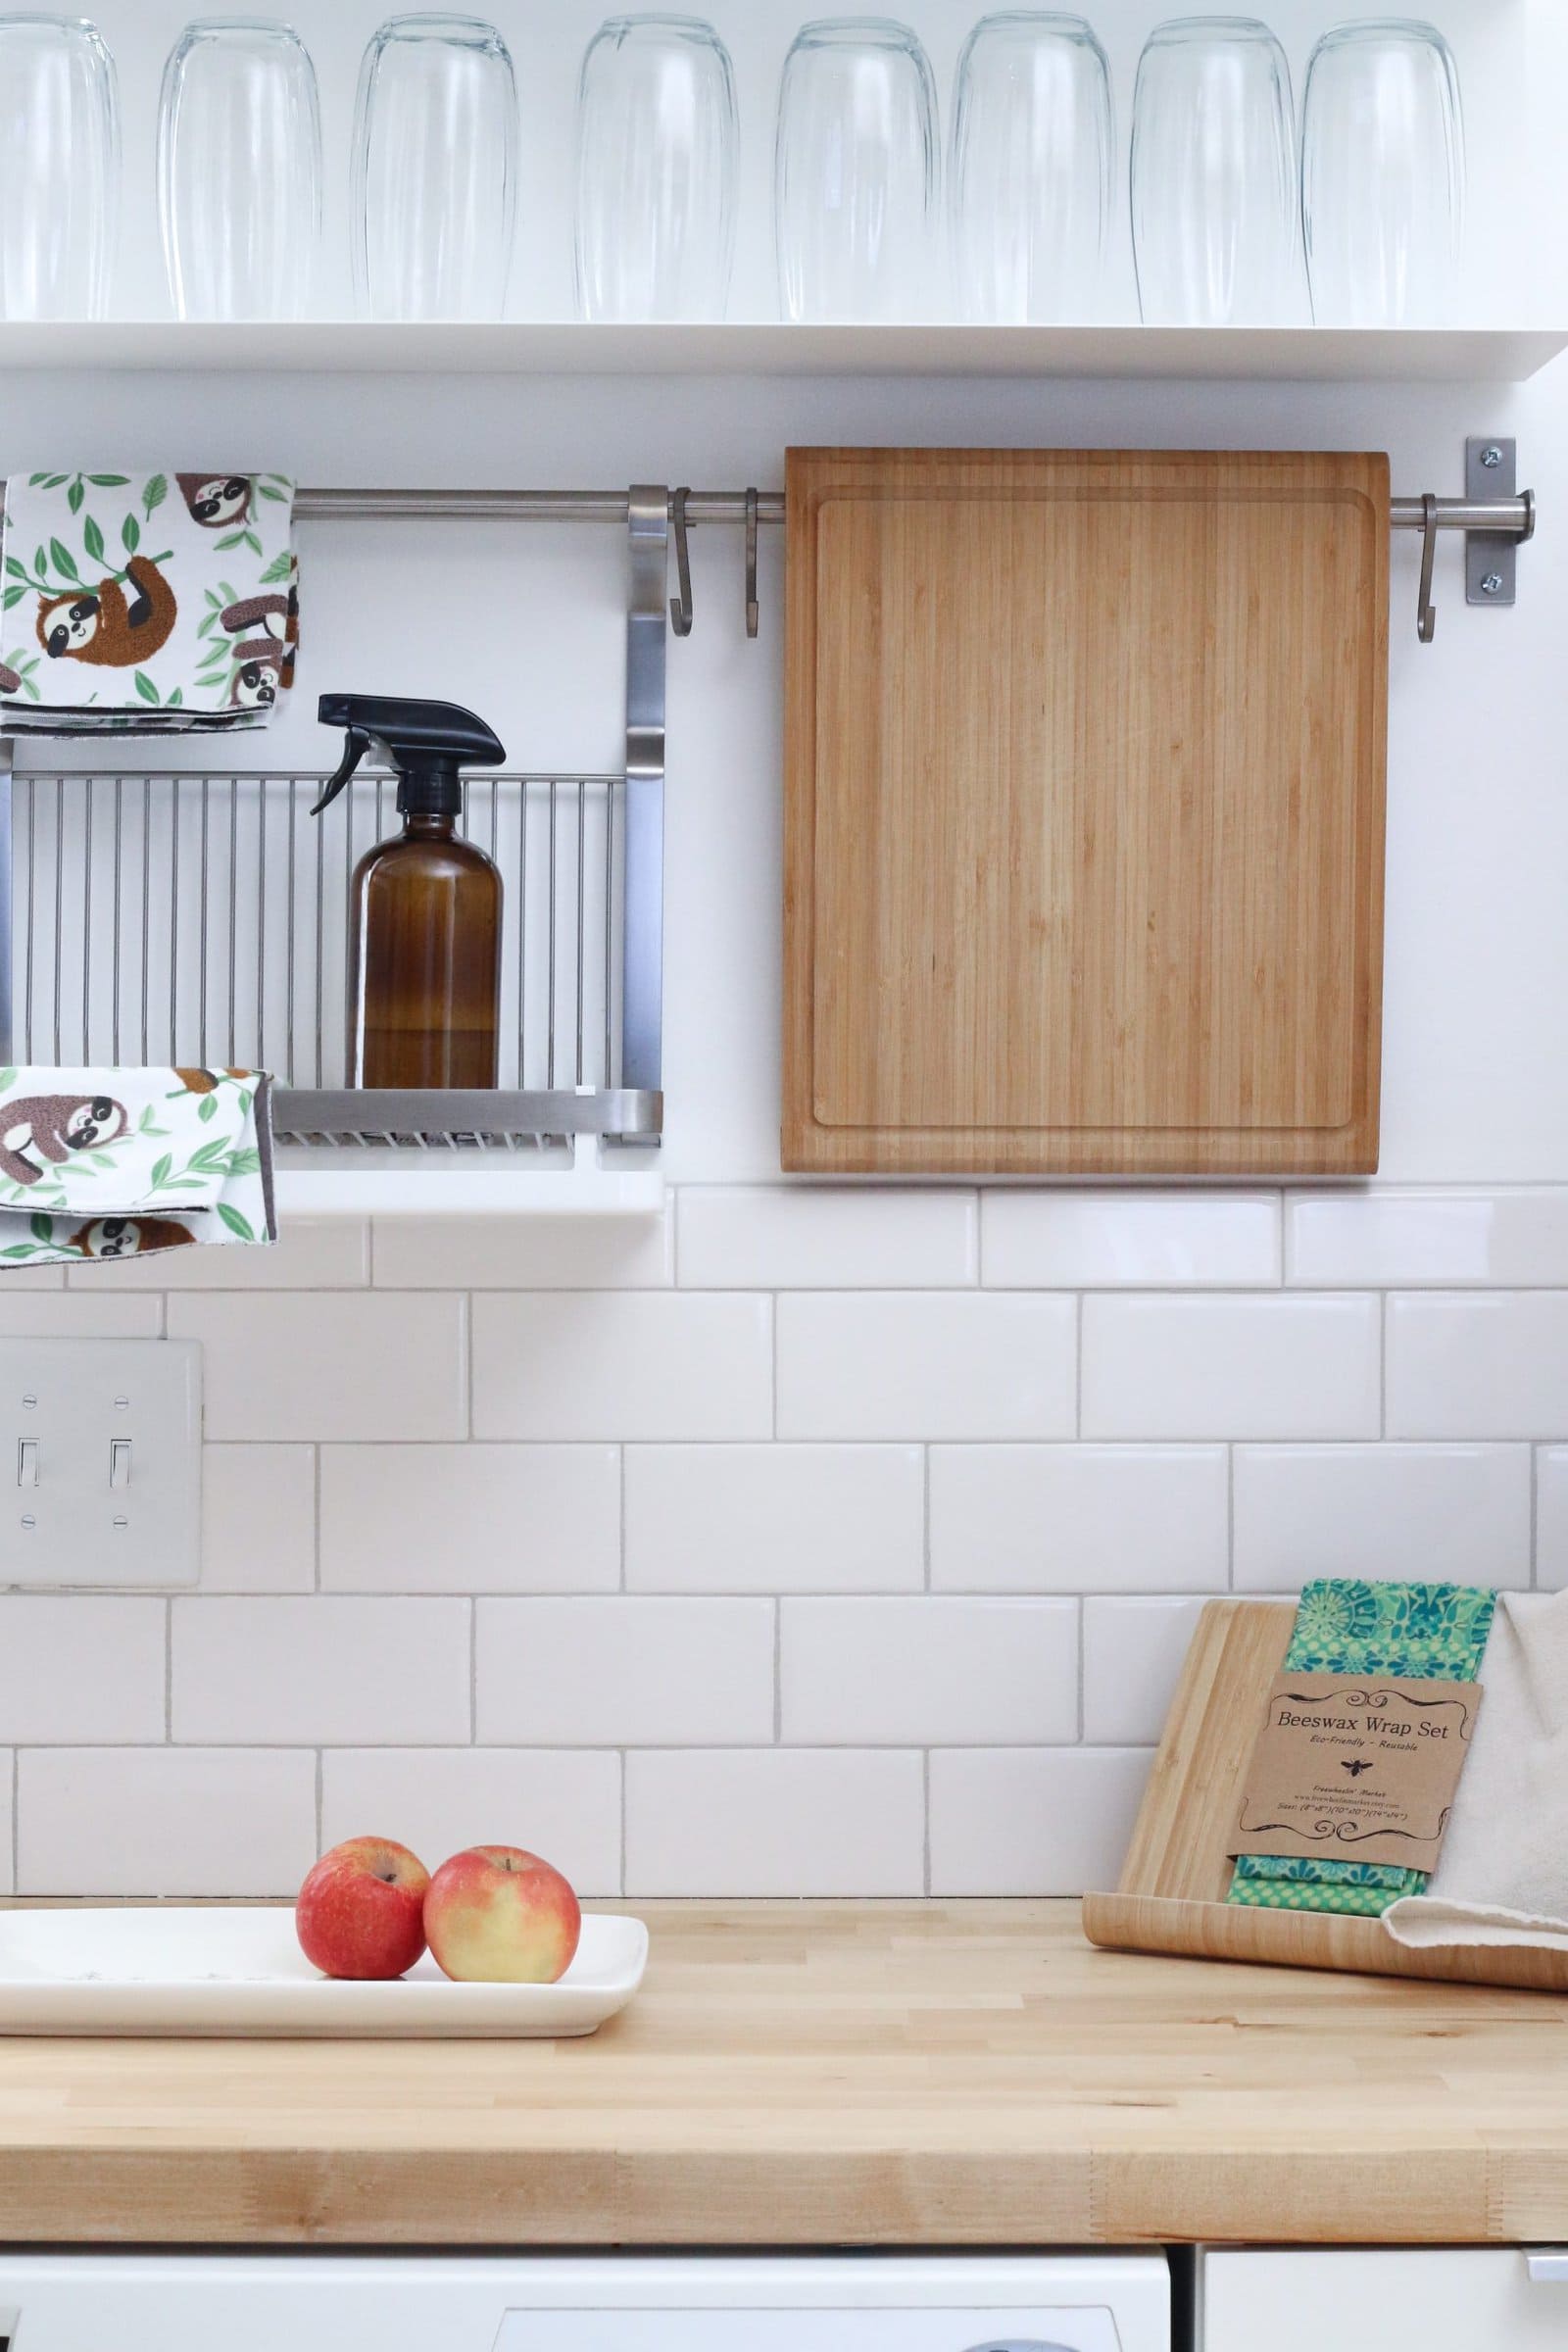
This, and the fact that it’s easier to clean, makes it the ideal grout width for specific spaces in your home. Choose this size for something like a bathroom, kitchen, or laundry room and you’ll easily keep your space bright and shiny over time.
Pros:
- Classic look
- Hygienic
- Easy cleanup
- Cheap tiles
Cons:
- Longer installation process
- More room for mistakes
Classic 1/8th-inch
While grout width measurements are traditionally 1/16-inch, 1/8-inch is also very common. Installing a lot of small tiles with a thin grout line will result in a more timely and work-intensive installation process, which is not for everyone. A common workaround for this issue is to use 1/8-inch grout.
Because this is a common grout width, you should easily find the materials you’ll need for your tile project in any home goods store.
A potential issue for this alternative, though, is that the classic balance from the original subway tile can be thrown off by messing with the proportions. So, if you’re opting for this option make sure that you like the look of it. Maybe make a small sample or projection before you go through with the project.
If you don’t like the look of the thicker grout with smaller tiles, consider increasing the size of the tiles or maybe going for a grout that color matches your tiles, so that there’s less focus on the grout.
There is another benefit for this grout width: a thicker grout will be better for a beginner; there is less space for error with fewer tiles to mount, and mistakes will be easier to hide.
Pros:
- Not hard to find supplies
- Easier to install
- More forgiving of mistakes
Cons:
- Tiles can be outshined by thicker grout
Wide 1/4-inch
Finally, you can opt for the bold option of an even thicker grout line, at 1/4th-inch. This is a good choice for a really stand-out design. It’s certainly better for a space that’s less likely to get dirty, like a living room or bedroom.
A decorative tile wall like this might be the ideal space to explore a different style. Have you thought of herringbone or stacked tile arrangement? Perhaps a colored tile would suit your fancy. Maybe a more rustic, unsanded grout will fit the look you’re going for. Feel free to go for something different.
Because this is a unique concept, planning out will be essential. Make sure you know what the end result will look like and that you’ll enjoy it for years to come. Anything that is trendy now will eventually not be, so make sure that you genuinely like your idea.
Materials for a project like this might be harder to find in a typical home goods store, so in the end, it could be more expensive. That’s the cost of a unique design!
Pros:
- Unique
Cons:
- Might be more expensive
- Might look outdated quickly
General tips
If you’re going through with your subway tile project, here are some tips that might be helpful:
- When calculating the area of your project, don’t forget to account for grout width! It’s easy to forget, especially if you’re a beginner.
- Some tiles are self-spacing, meaning they’ll have a groove on the bottom that serves the same purpose as a spacer. Make sure you account for this. If you use spacers on a self-spacing tile your grout width will be the sum amount of the two spacers.
- You’ll need 4 spacers per tile, and then some extra just in case. Good thing spacers are cheap!
- Spacers are reusable! After you’ve used them, you can wash them and safely store them for any future project.
Final words
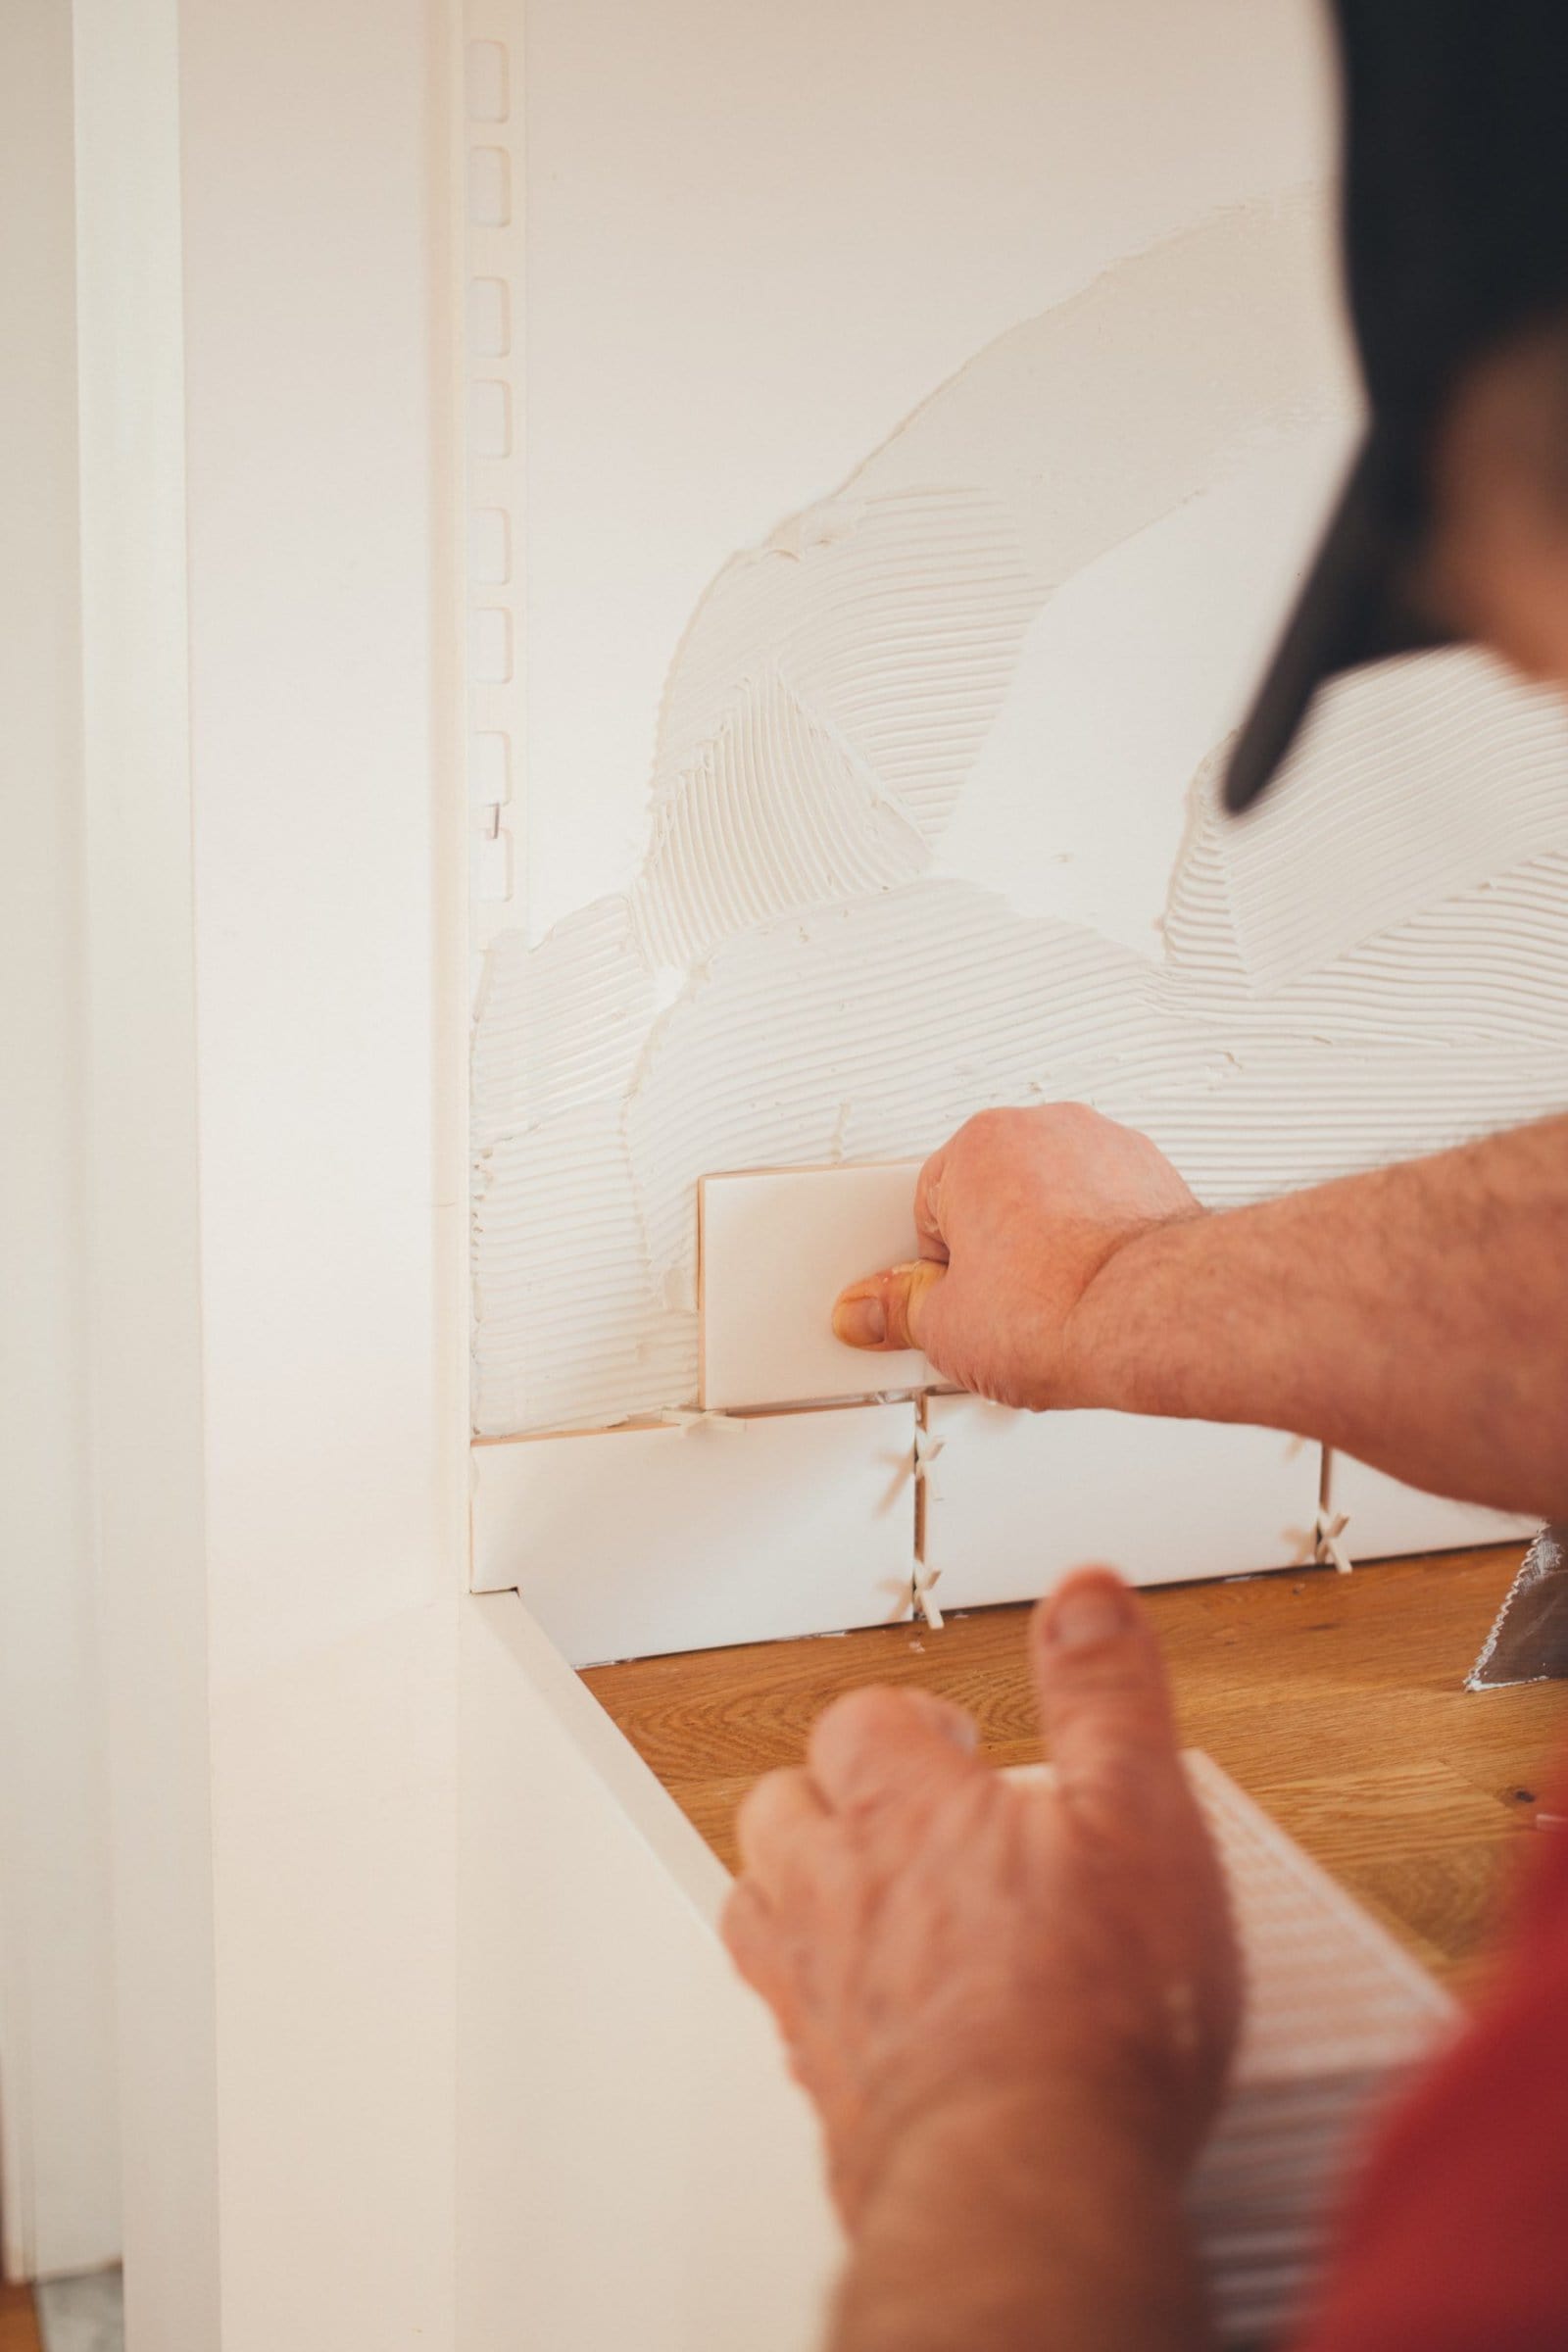
While installing subway tile is certainly not a quick task, you can ensure everything goes right with patience and the right tools. Whether you’re going for a traditional or spunky look, spacers can help you ensure your grout lines come out the way you want them to.