Where to End Your Kitchen Backsplash for Maximum Impact
When you’re installing a new kitchen or giving your old kitchen an update, you may have given good consideration to the style of backsplash you’ll have. You’ve picked a beautiful tile or a gorgeous sheet of stone you know will look fabulous.
But further than that, you’ll need to plan out where your backsplash ends and think about how it is going to look once fixed in place. You might be surprised at how easy it can be to get it wrong and forever have an awkward kitchen backsplash.
So take a look at some of the good examples, as well as some backsplash attempts that are not so successful.
Good Kitchen Backsplash Ideas
Backsplash Ending with the Countertop
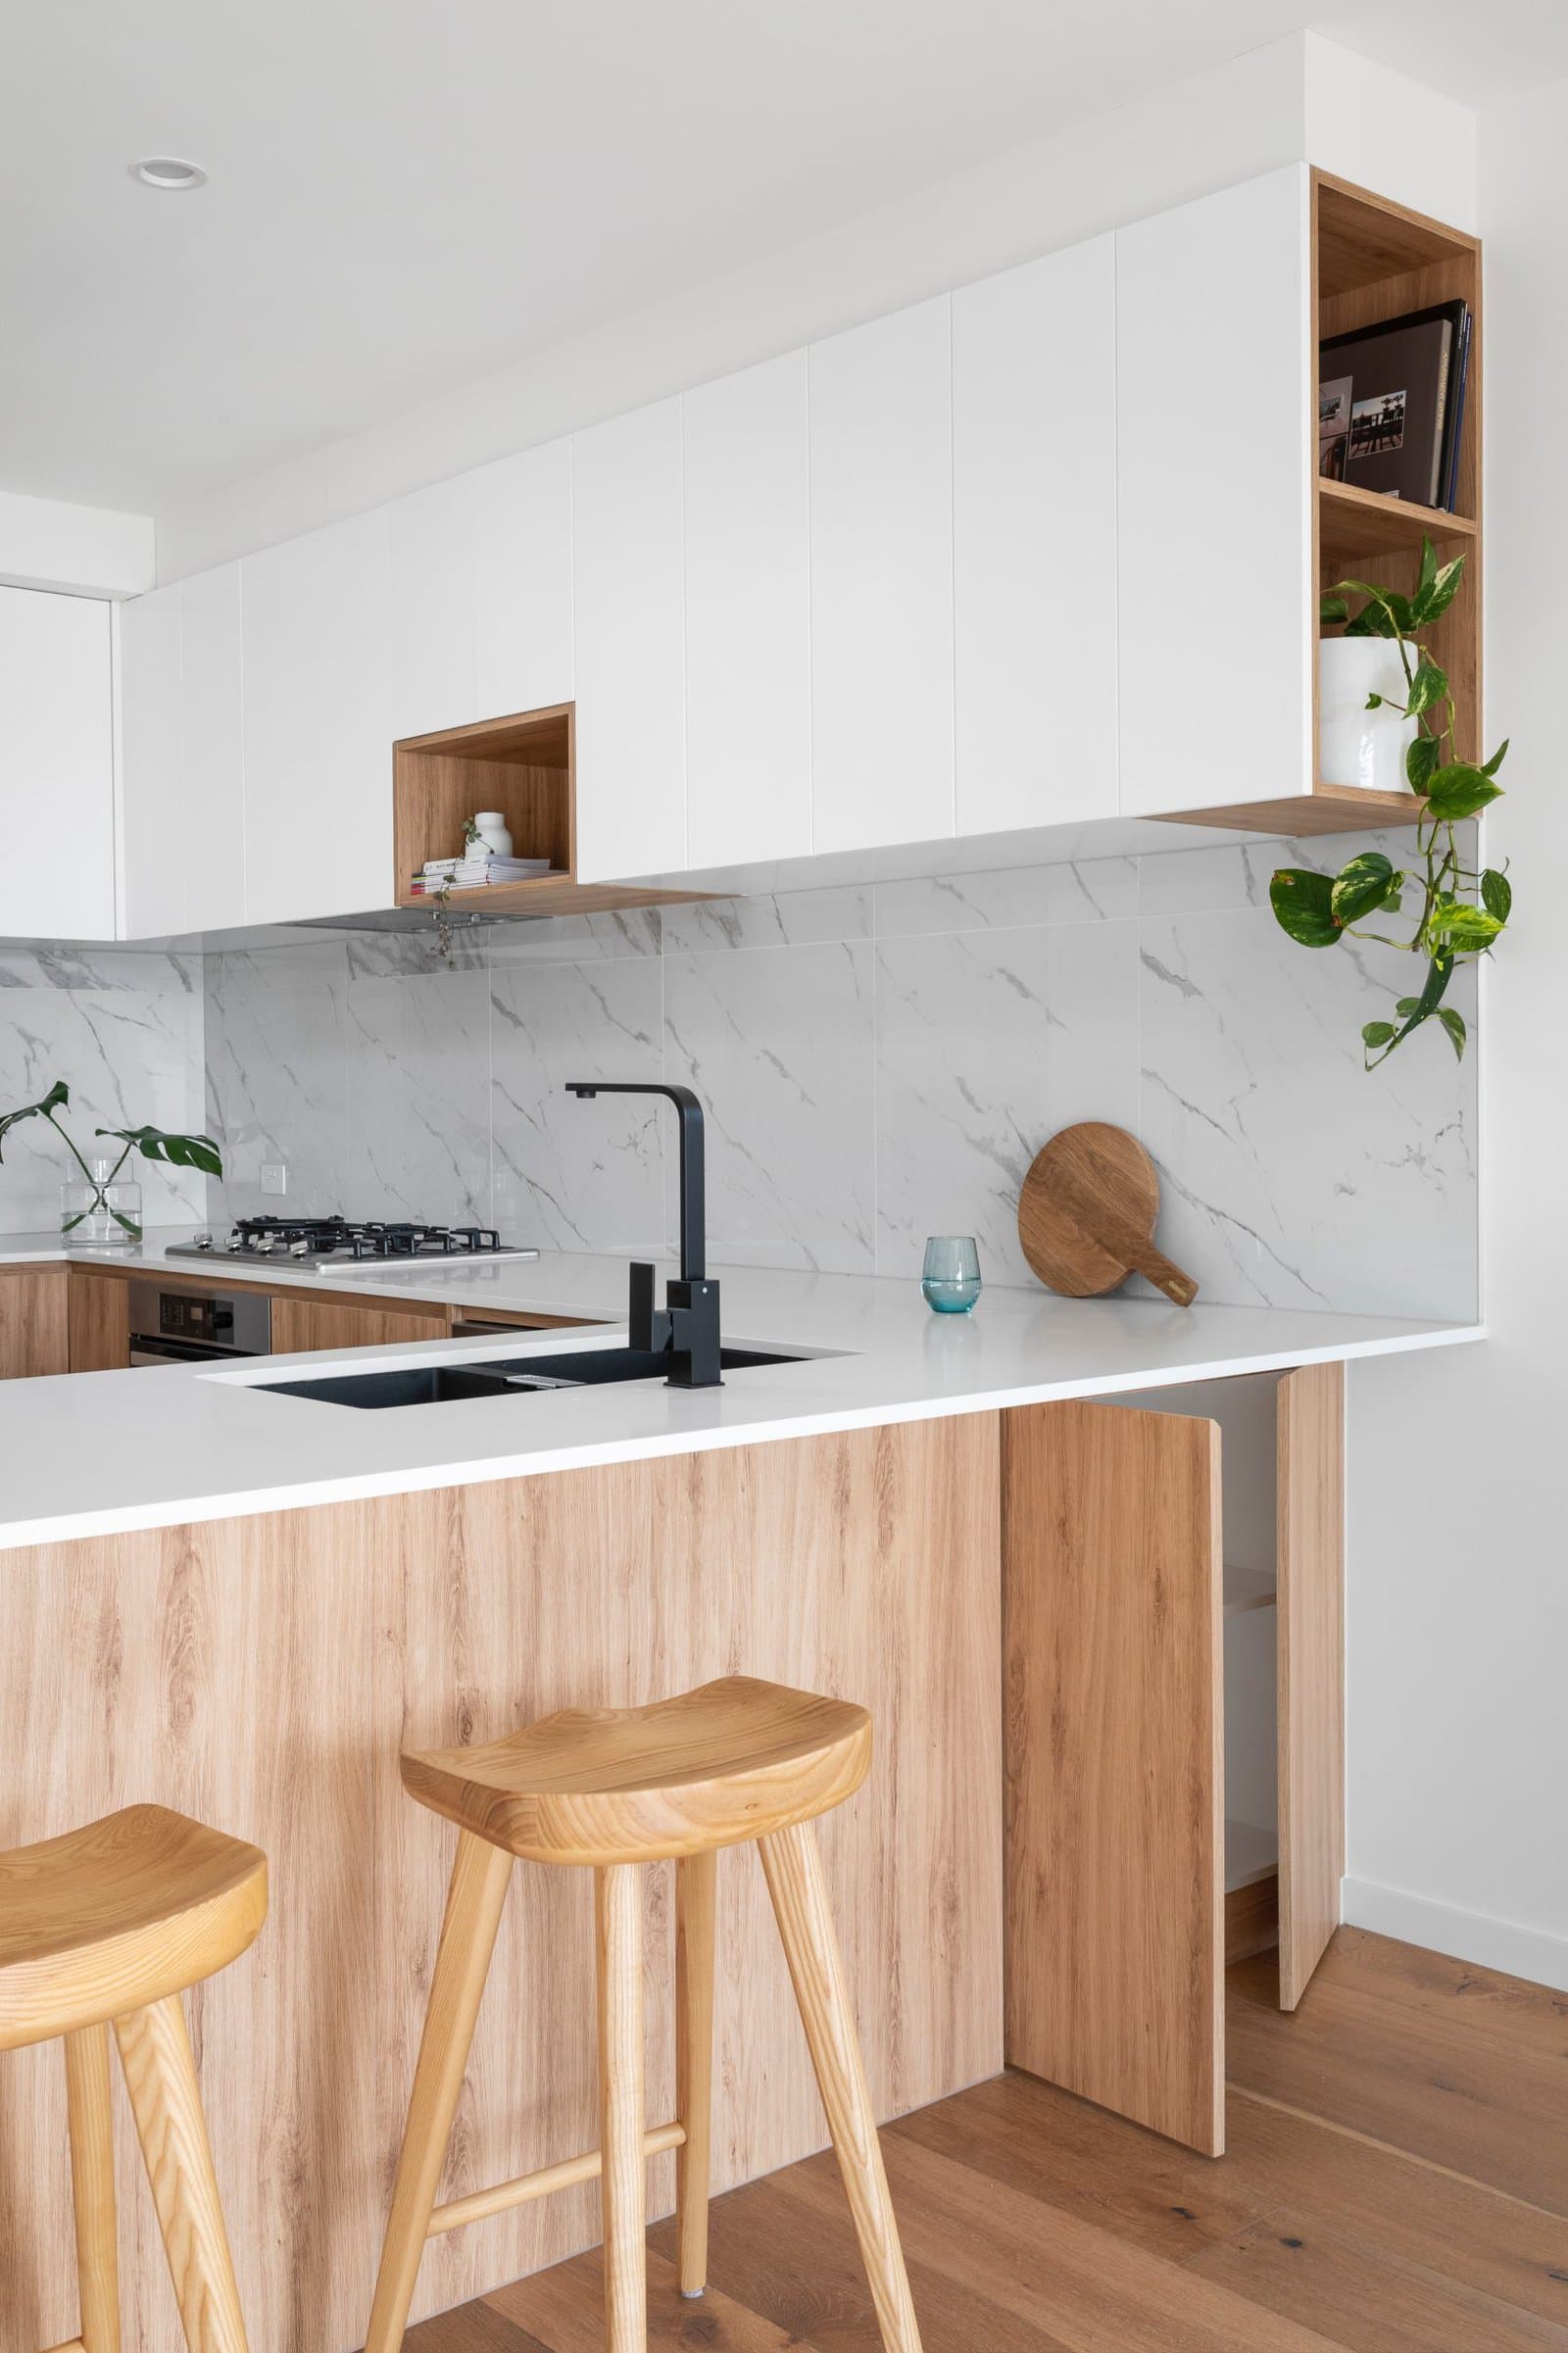
If you’re tiling or installing a kitchen backsplash, you would want to aim to end it at the end of the cabinets.
For a truly luxurious, high-end look, you can extend your countertop to match up with the end of the cabinet and the countertop. This looks effortlessly sleek and is a simple trick of design that will look expensive. Here it’s all about the planning when you’re first designing your kitchen.
Backsplash Around a Window
As you get to the kitchen window when you’re tiling your splashback, what should you do? You could continue to tile into the window recess but keep the tile at the same height as the rest of the backsplash.
If you tile the entire windowsill and surround, this can look a little utilitarian and institutional. For the ultimate backsplash look, tile up to the virtual edge of the window and ensure a professional finish.
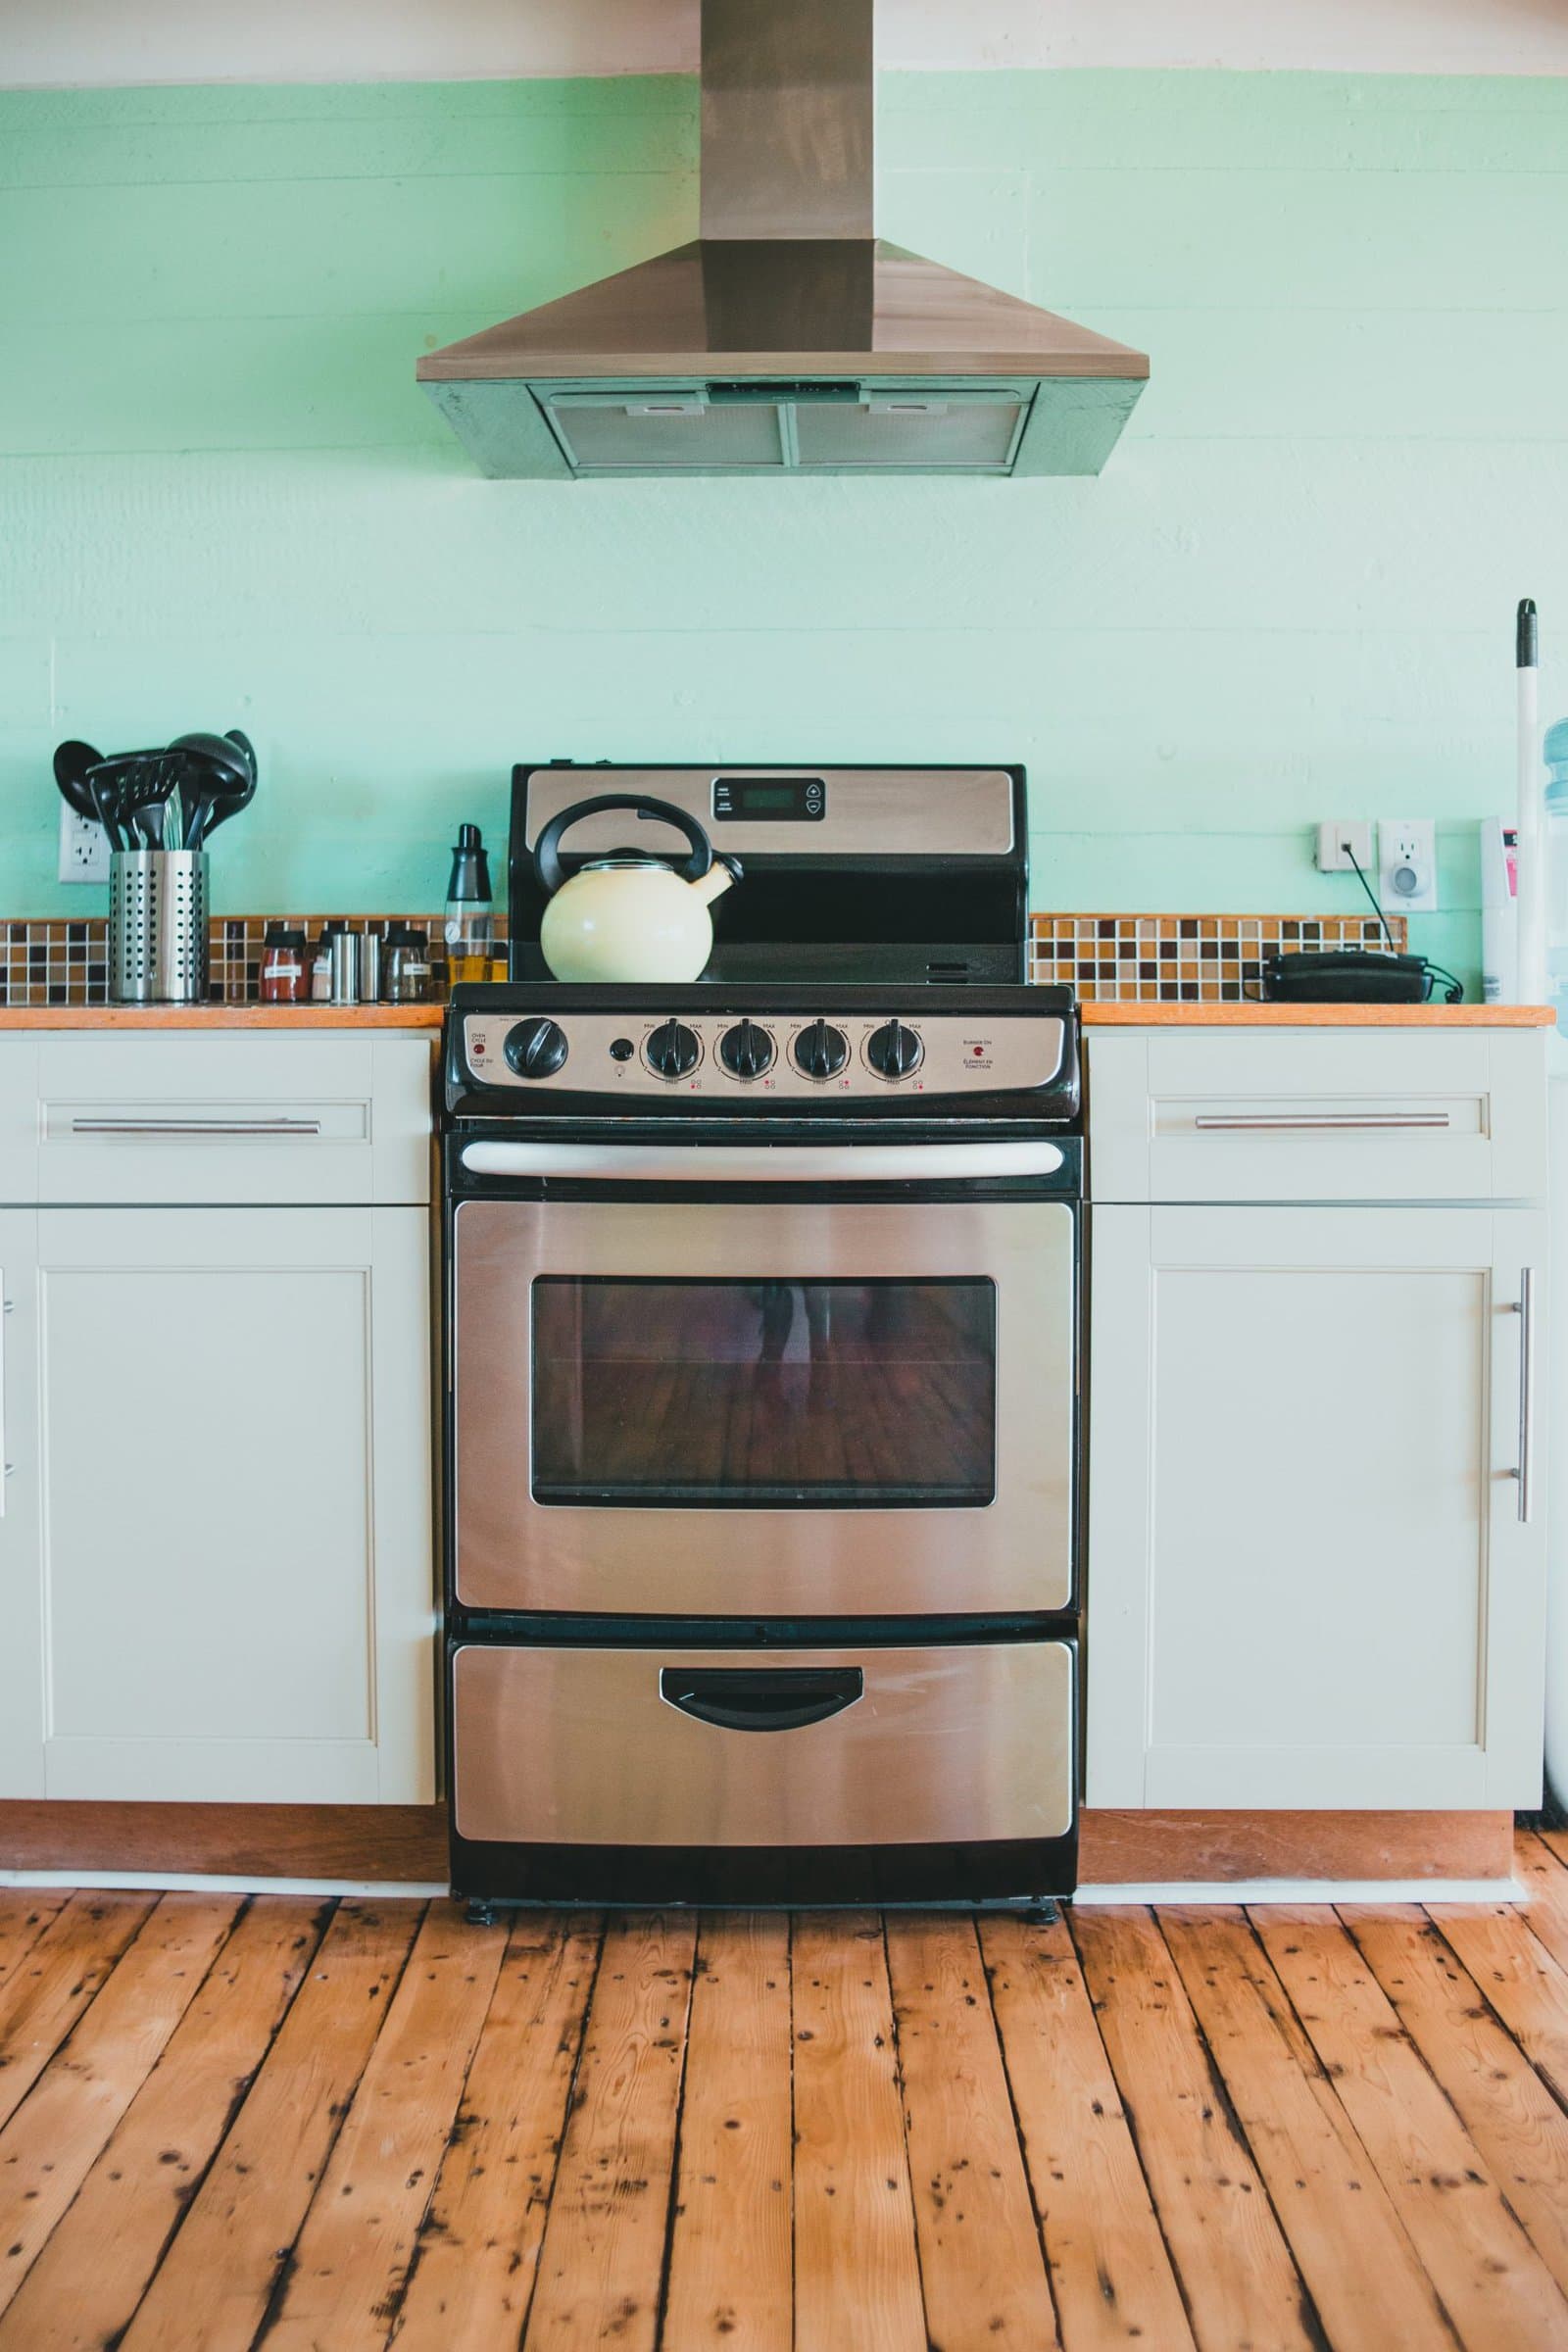
Tiling on a Chimney Breast
If you have a character kitchen then you might wonder how best to incorporate features such as a chimney breast. Here, it’s probably about the proportions. If there is a small protrusion and it’s likely to get splashed when cooking, then cover it with your backsplash material.
If you have a larger area to cover, it probably is going to look better in the covering you have chosen for the wall. So extend that over a chimney breast or into a recess.
Backsplash In Line with Cabinets
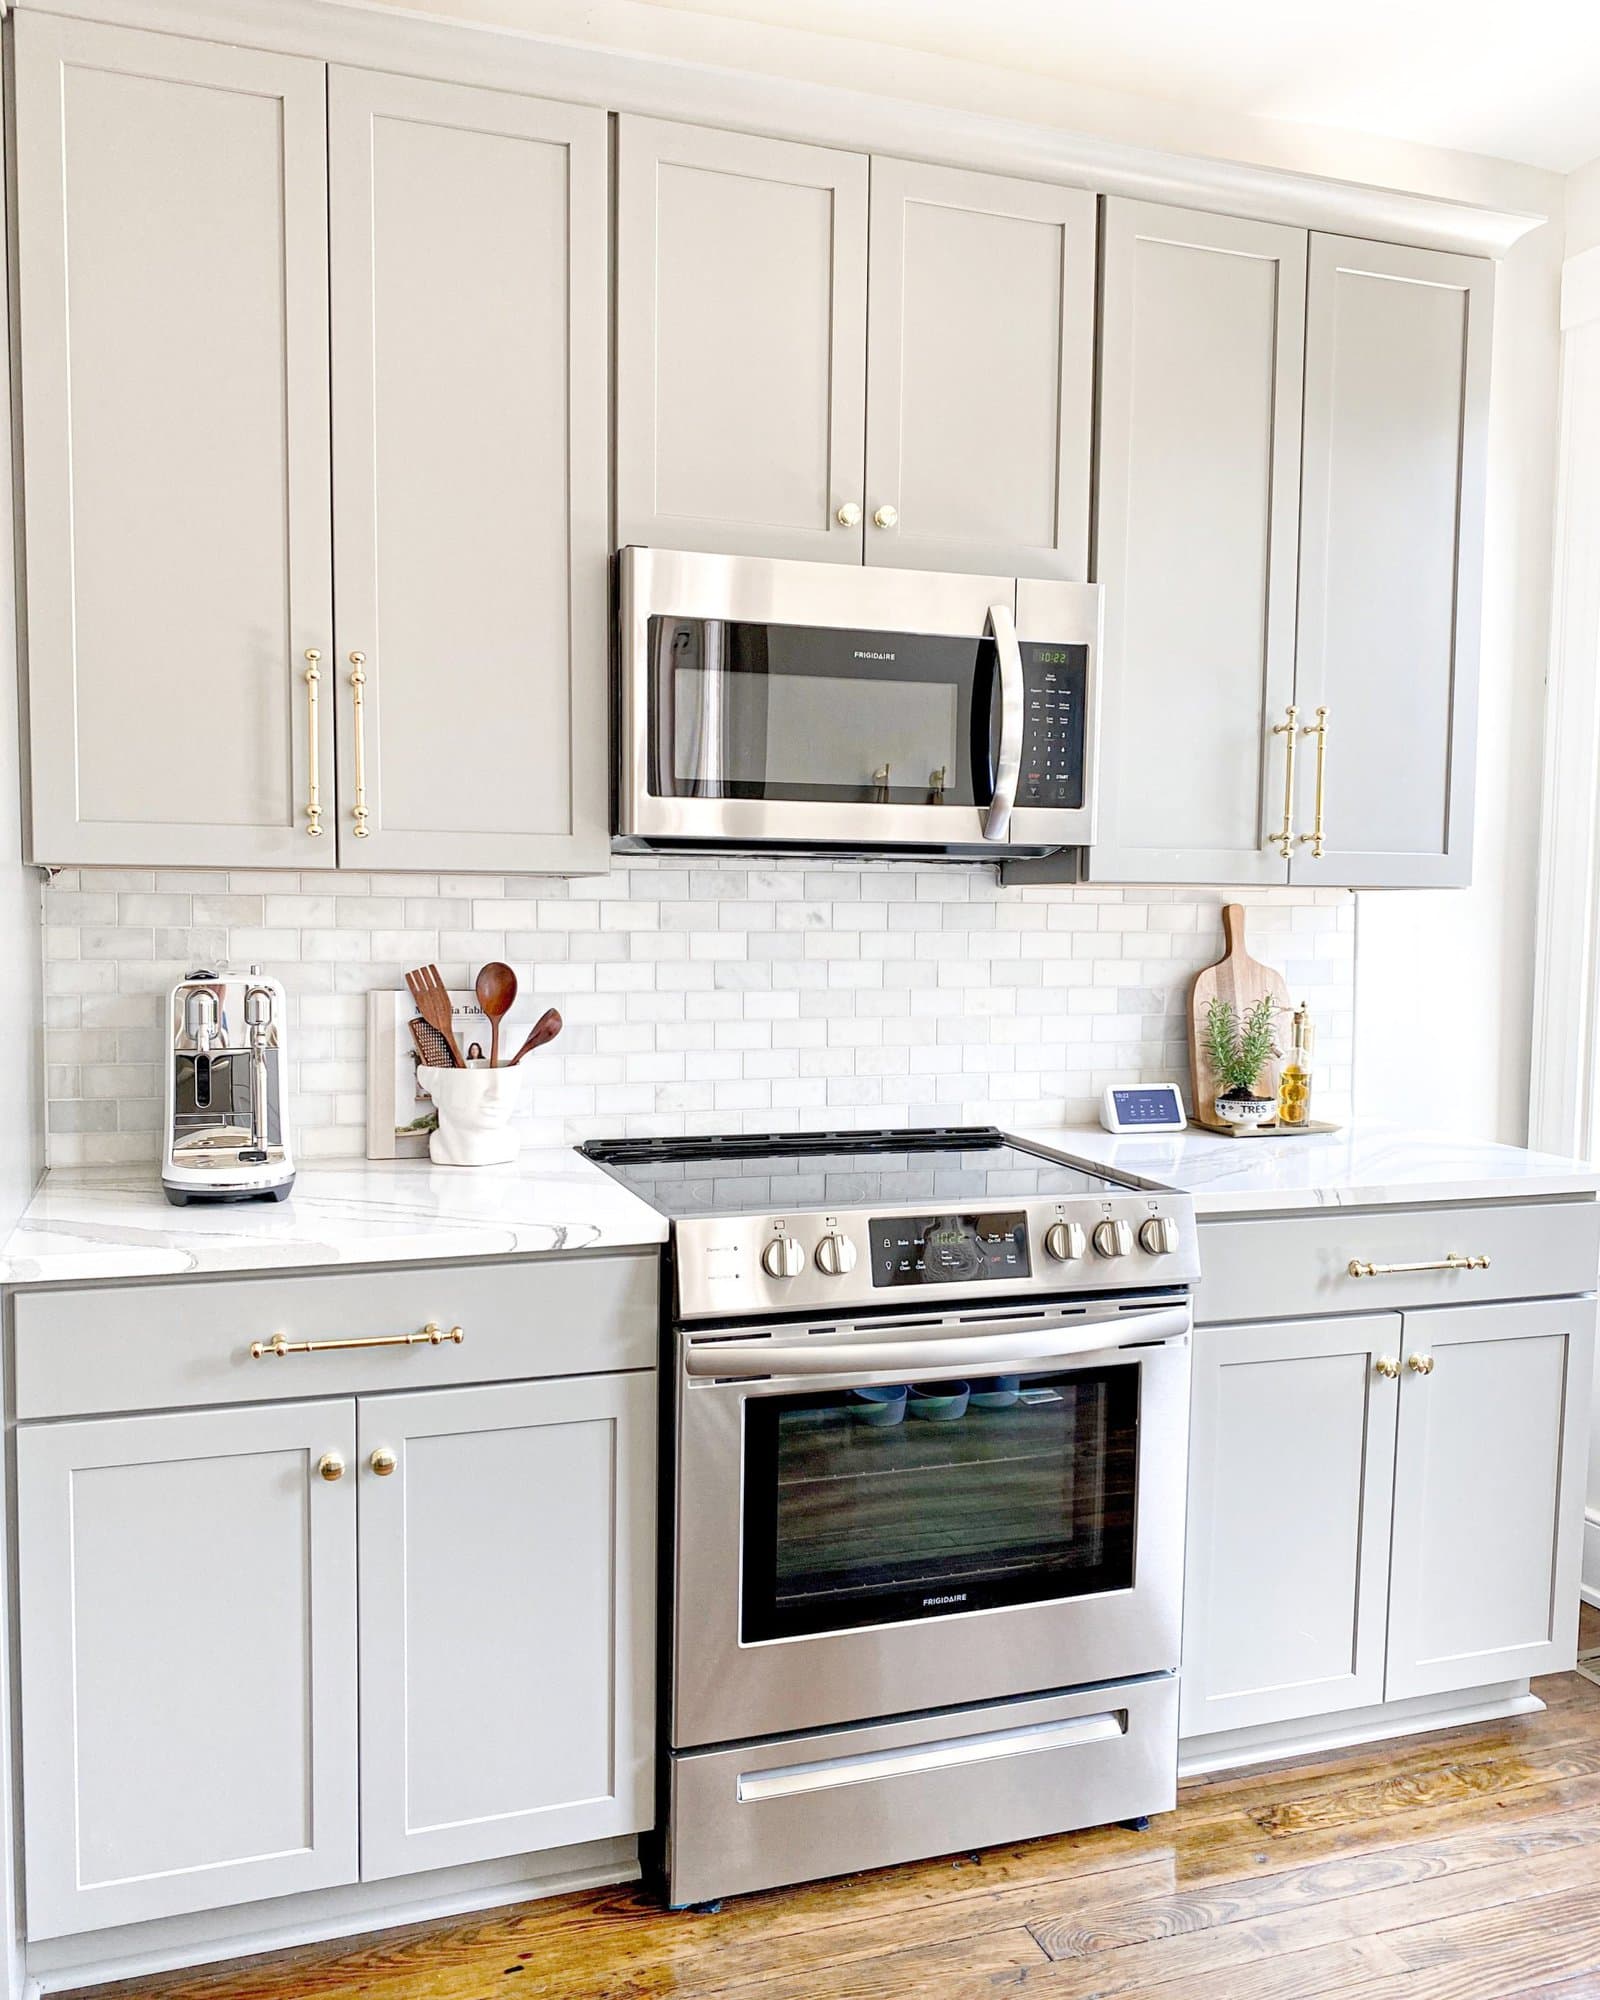
For the neatest look for your kitchen, take your backsplash to line up with the upper wall cabinets. This means you’ll need to plan out your tiling so you don’t have any awkward slithers of tile at the end.
You may have enlisted the services of a professional. But if you would like to have a go at tiling a backsplash yourself, this is something you can try yourself but be sure to be accurate. Those tiles could be on the wall for a long time!
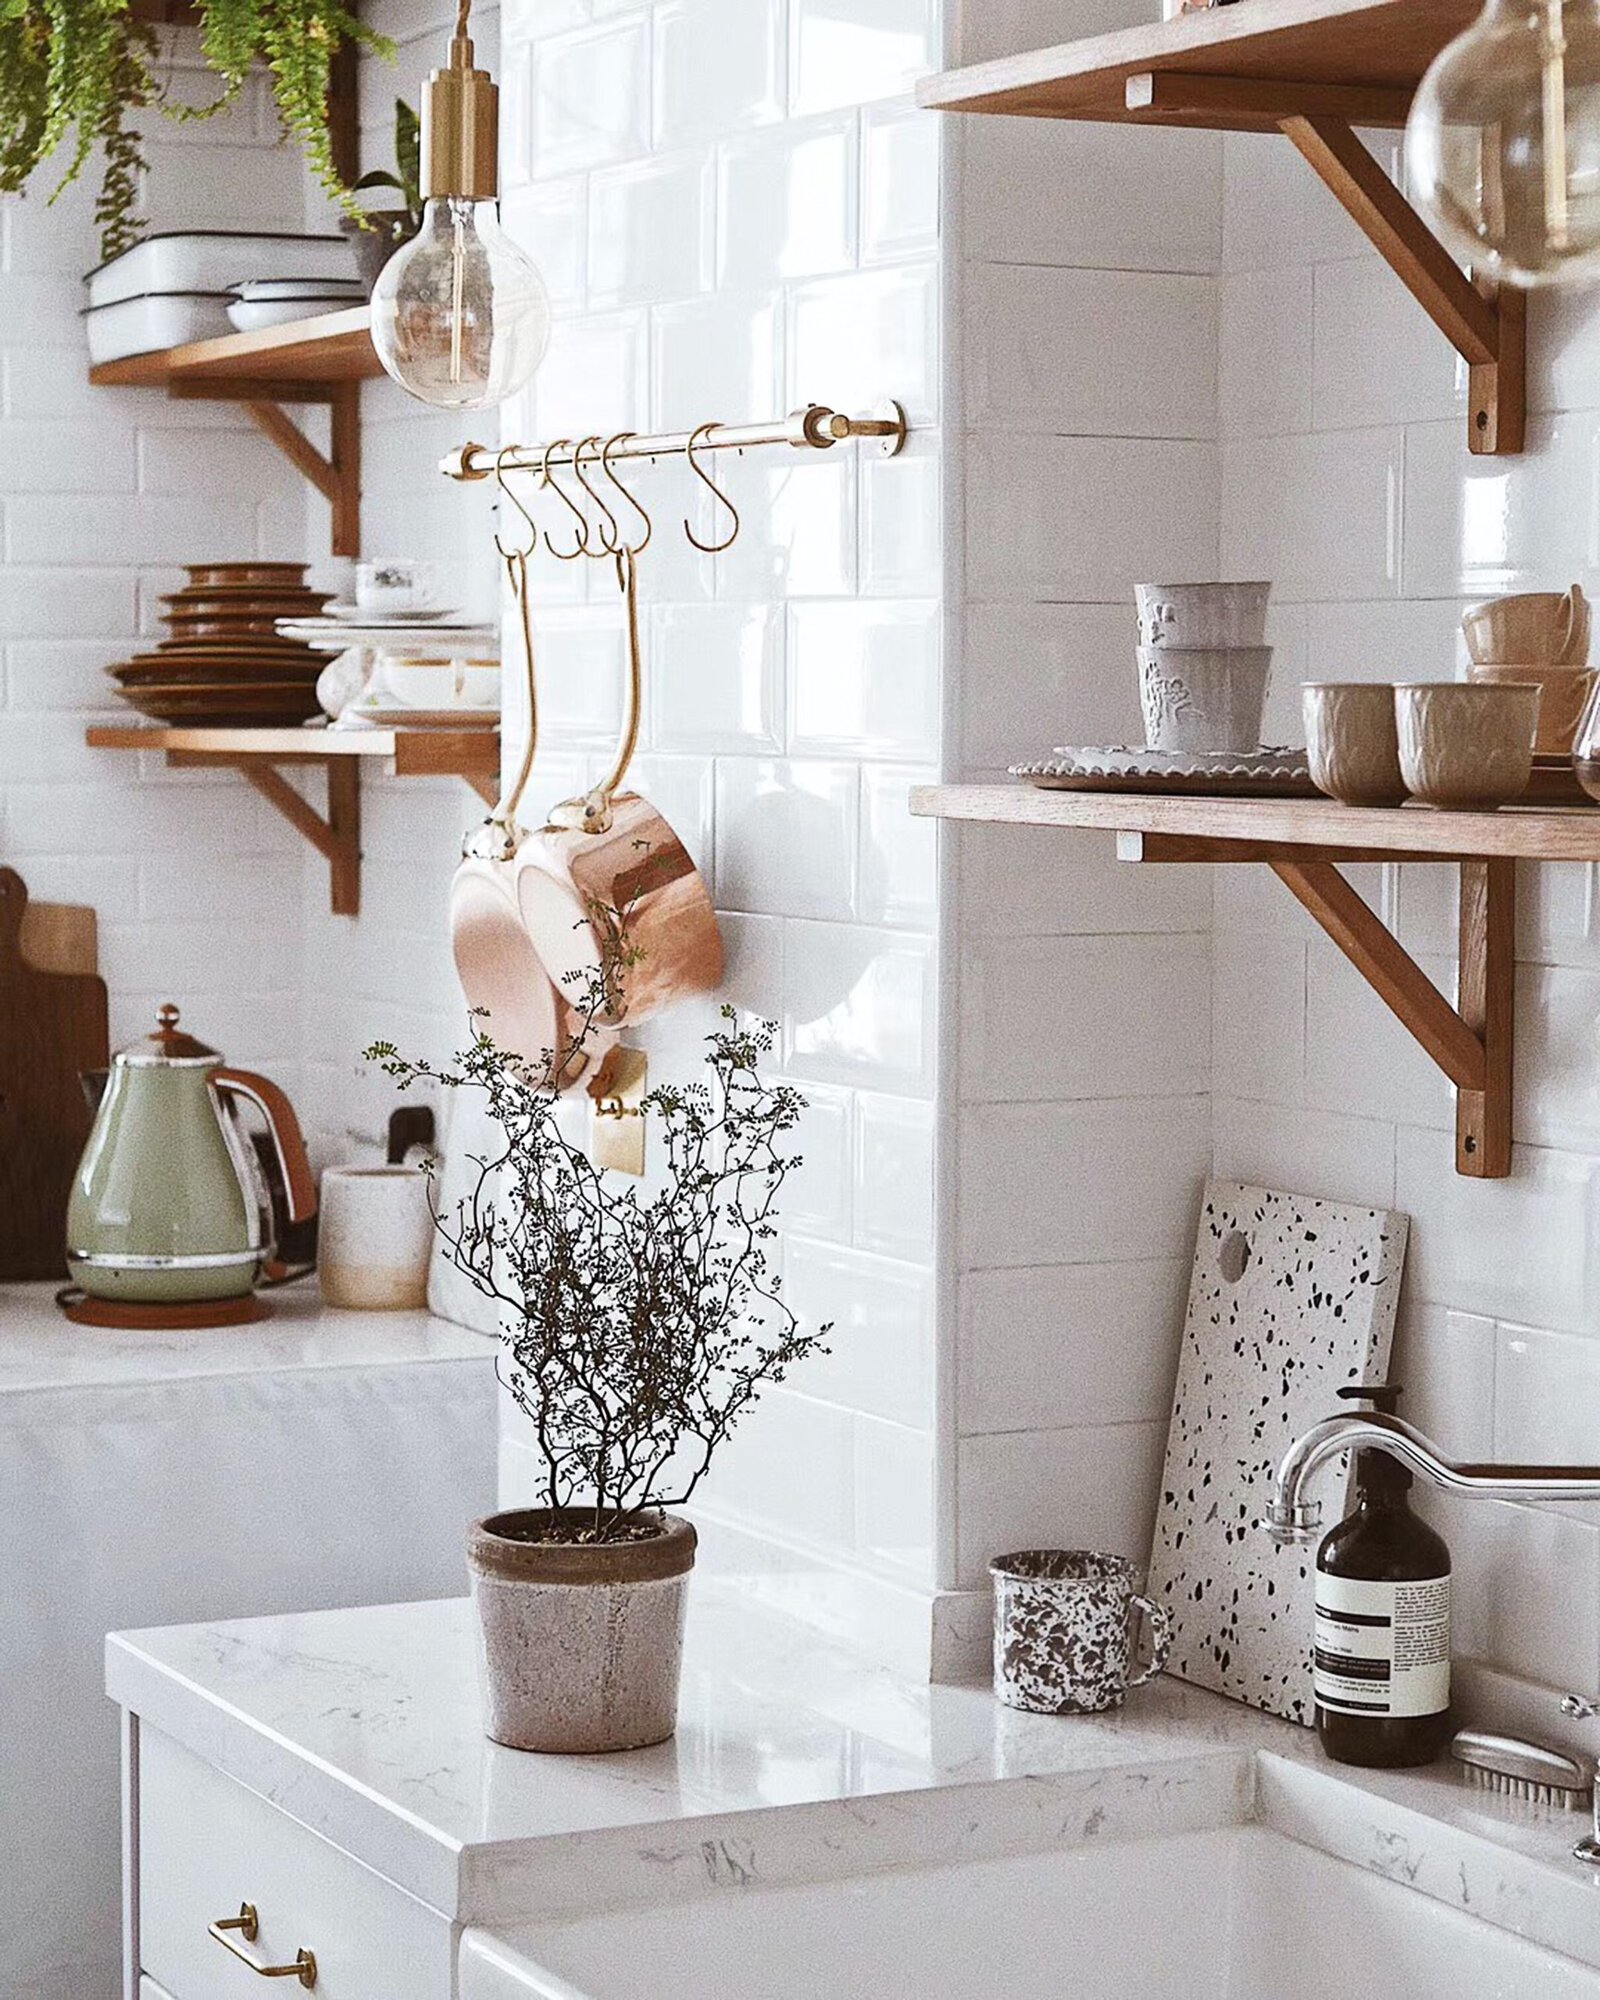
Fill a Space
A decorative backsplash can make some amazing designer impact. So choose wisely how far you install your backsplash.
In this image, see how the tile extends up the wall behind the shelf. This is a big check for the designer as it is an expensive-looking touch. You could tile only to the base of the wall cabinets, but continuing the tile looks bespoke.
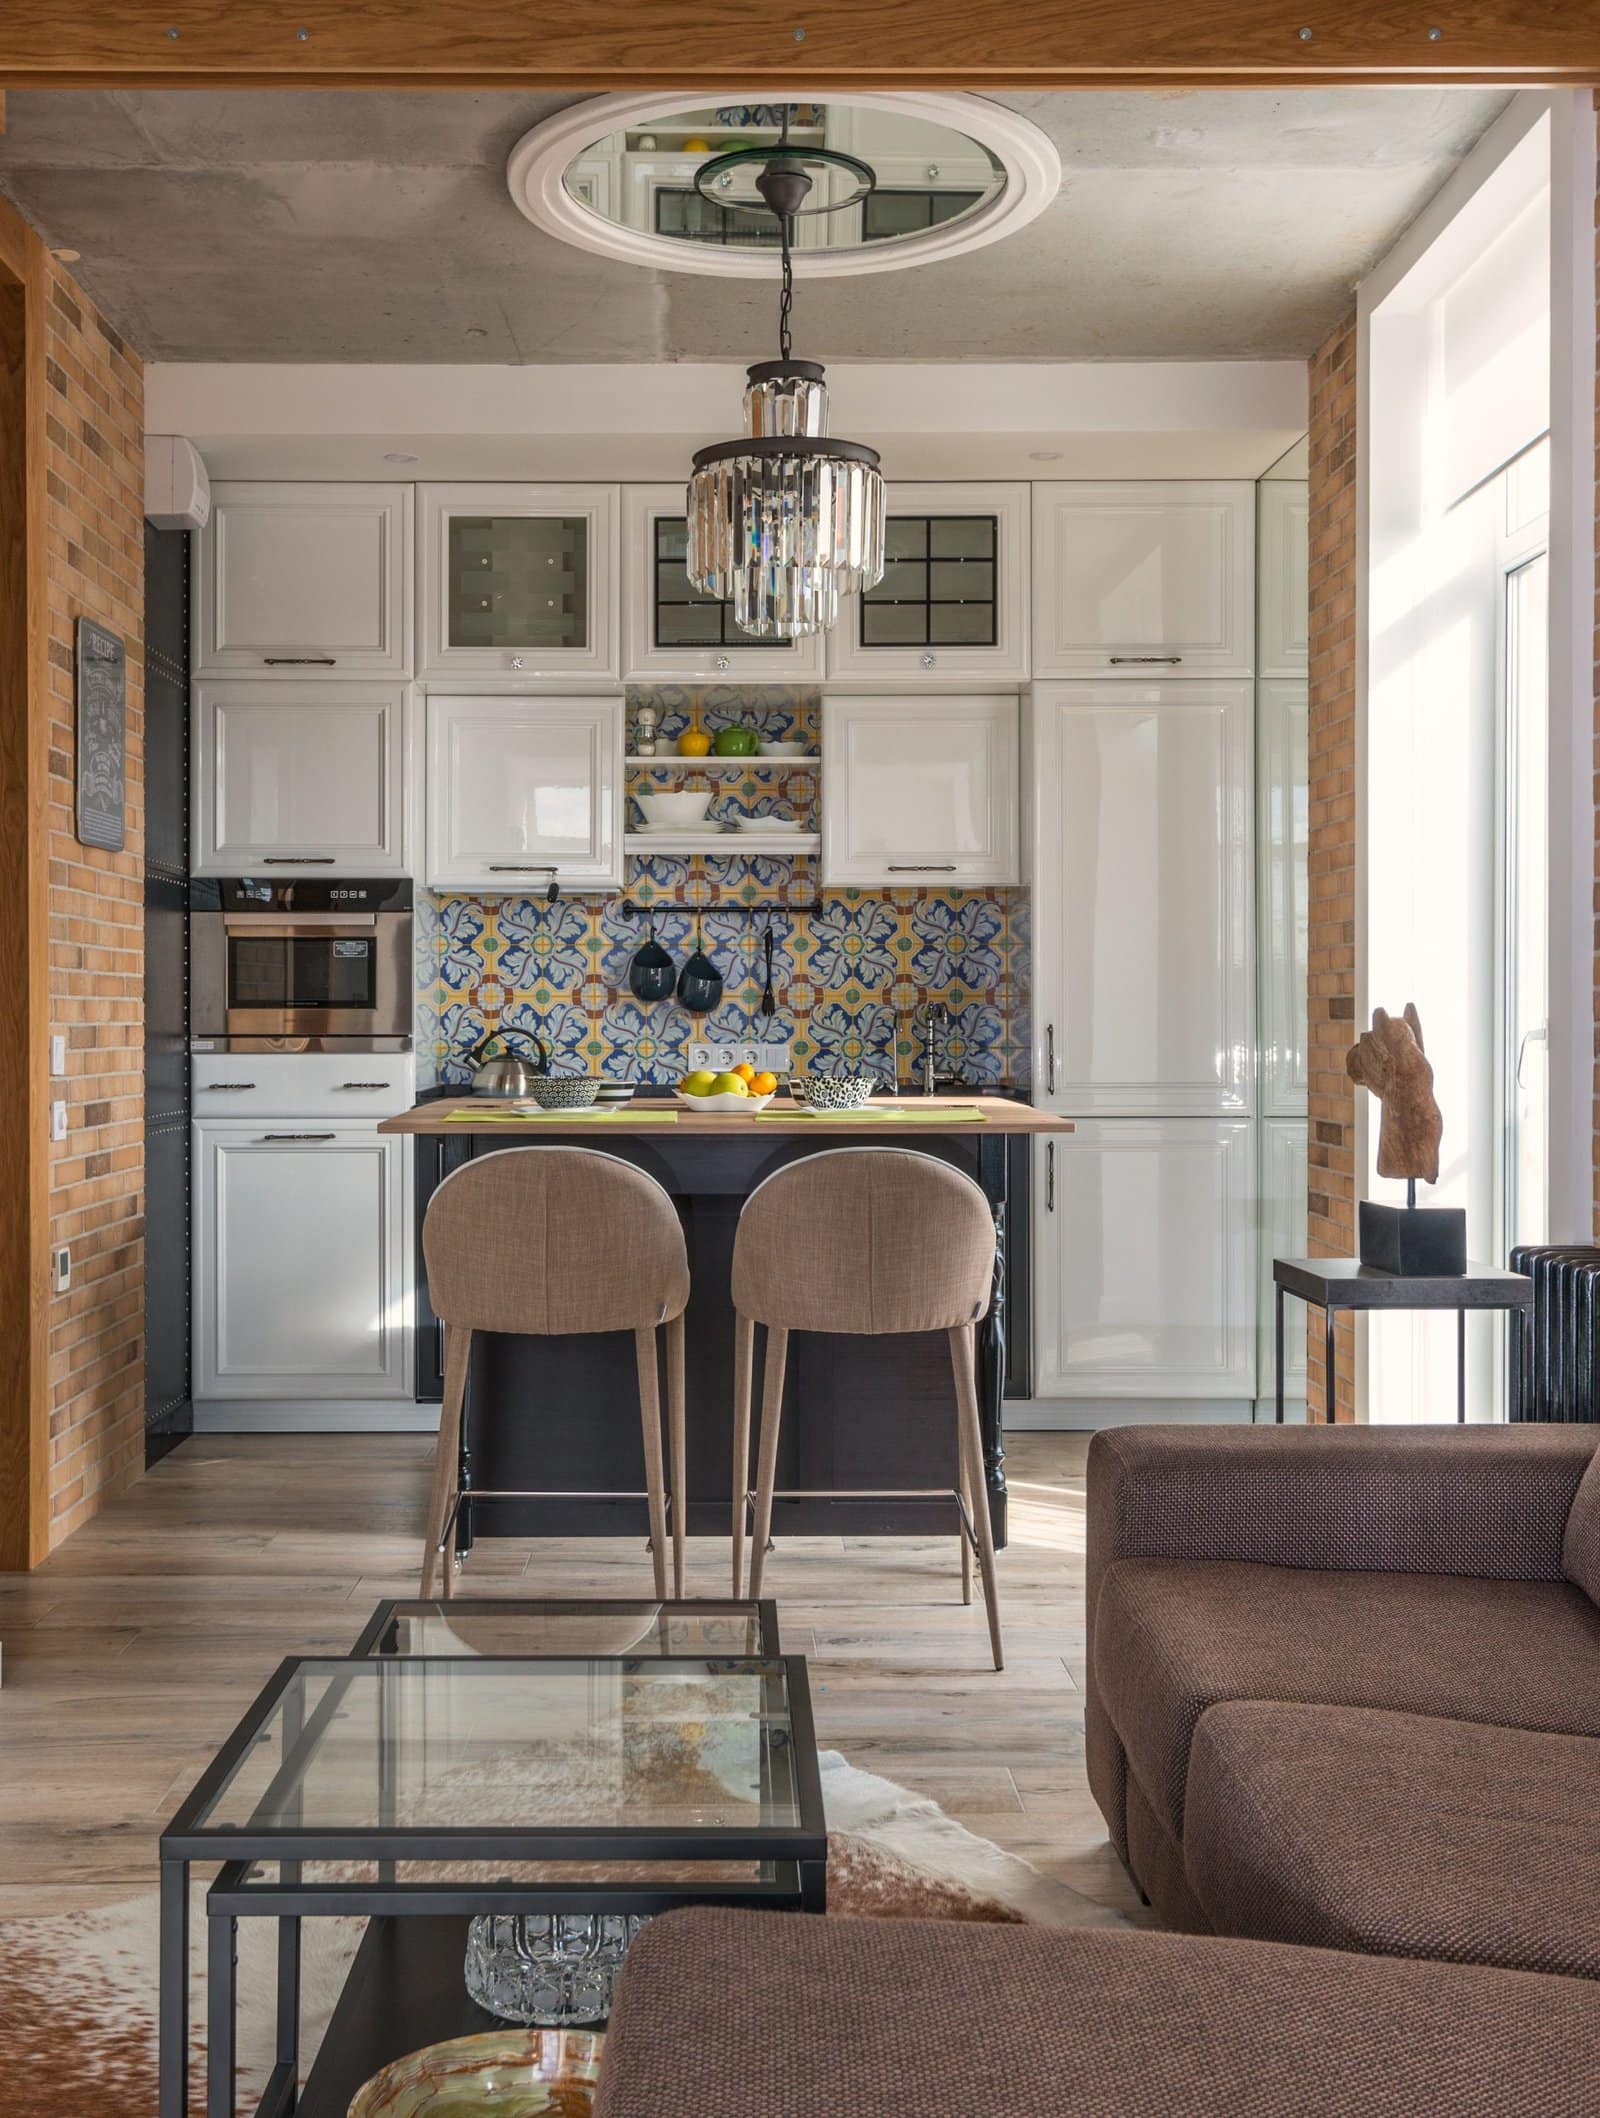
Cover the Wall
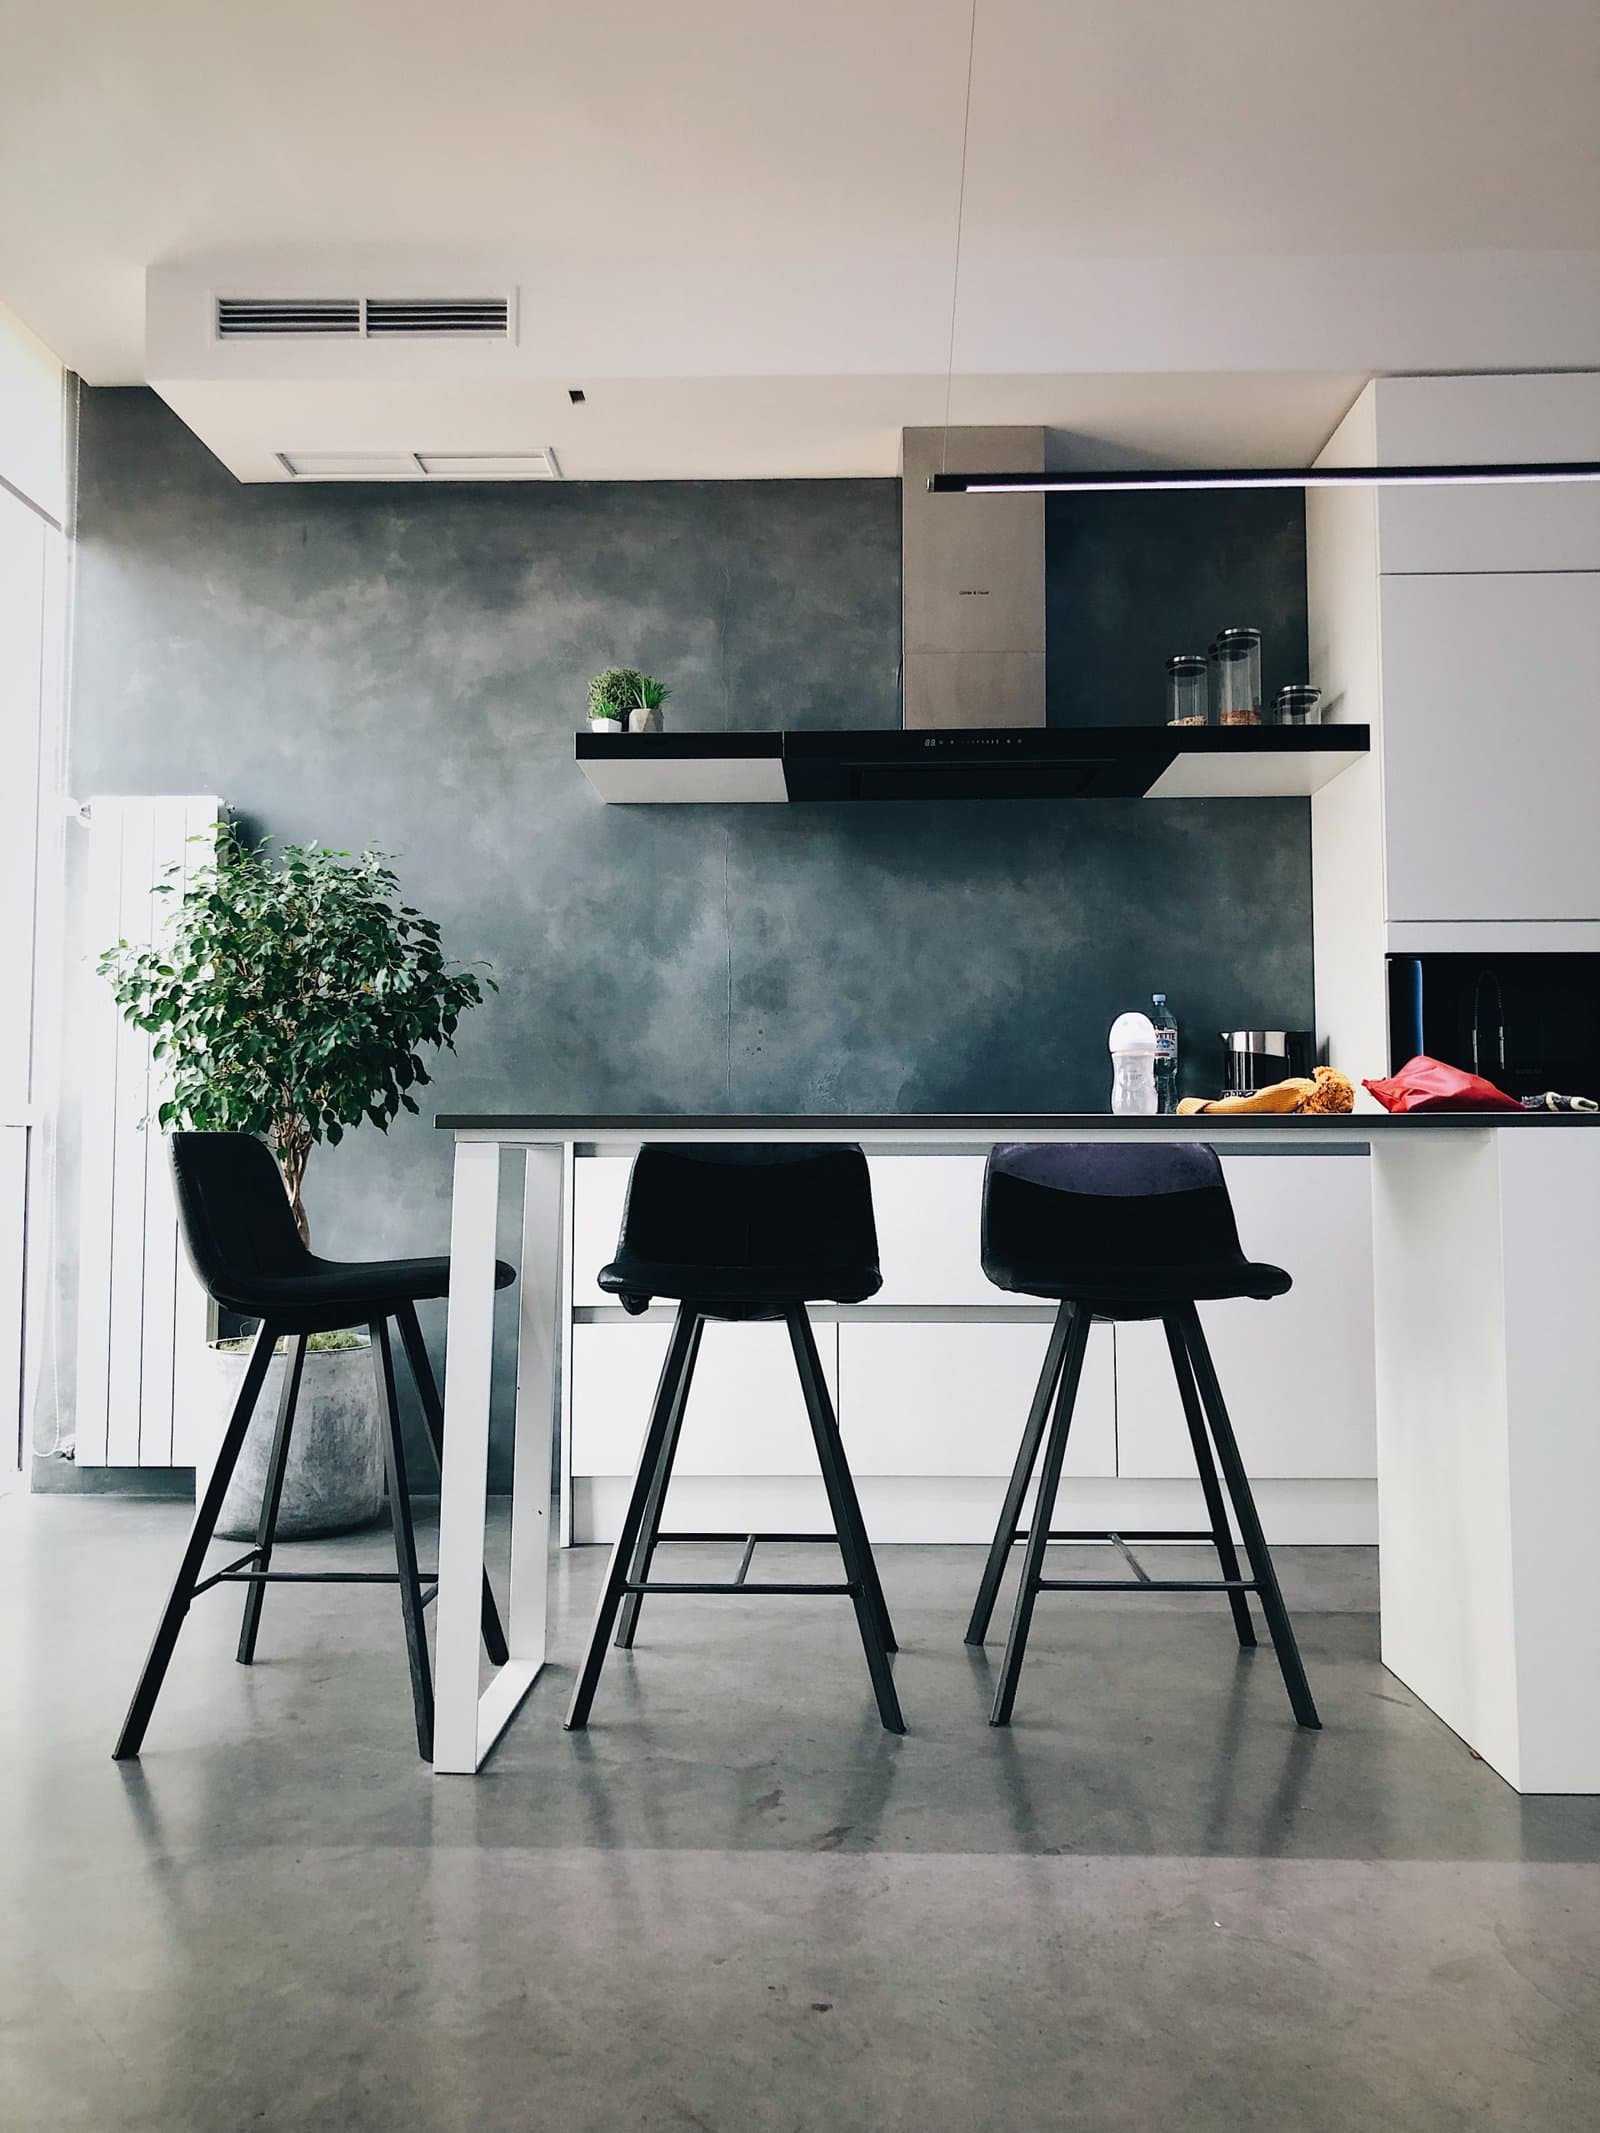
If you have gone to the trouble of having a gorgeous polished concrete wall or a stone tile, why would you want to stop at the cabinet end?
For rich wall coverings and a highly contemporary look, cover the entire wall. A dark stone will enhance a white kitchen.
Not So Good Backsplash Ideas
Stopping Short with Your Backsplash
You can have a backsplash that is both too short vertically and not long enough. A backsplash needs to be practical. It needs to stop stains forming on the walls from food splashes. So it is best to take it at least a couple of feet high.
A border can look cute but won’t protect the wall. If you really want to use it, just ensure you tile to the end of the countertop.
Backsplash is Too Long
It is best not to have any backsplash sticking out awkwardly at the ends of cabinets. So it can be tricky if you have sockets on the wall to know where best to end.
If the wall cabinet is shorter than the countertop, it is a more stylish look to have the backsplash end where the cabinet ends. This gives you a smoother line.
Side Backsplash?
Should you extend your backsplash onto the side of the wall? In a word – no! You may have picked the most beautiful tile or stone and just a little more would look so pretty.
In fact, if you’re not stopping at the wall, or at least at the end of the wall unit, you will have an awkward, unfinished looking corner.
Backsplash in Acrylic
There’s nothing wrong with an acrylic backslash. It’s a good material to use in the kitchen and you can have it cut to fill the space.
But what doesn’t look so good is a small piece of backsplash that doesn’t extend to cabinet ends. It looks as if this was a spare piece of plastic you’ve picked up and screwed to the wall.
Better is to select a colored acrylic and use a special glue to fix it to the wall. You’ll have a seamless and sophisticated look.
In Summary
No matter which material you have chosen for your backsplash, you’ll want to make sure it ends in the right spot. So, a rule of thumb is to end the backsplash where the top wall cabinet ends. This will give you a sleek, stylish look.
When dealing with trickier spots like a window or a chimney breast then assess the dimensions of the room to make the best choice where less is more.
As for tiling on side walls or using small backsplashes that don’t line up, well, just don’t! You will create awkward corners and areas.
Line up the end of your backsplash either with the end of the wall or the end of the top cabinet and you’ll have an expensive-looking designer style kitchen.